DNS Options in Obscura
Obscura’s Built-in DNS
Section titled “Obscura’s Built-in DNS”Our DNS allows you to block ads, trackers, malware, and other annoyances without leaving the app. To enable our DNS blocking in Obscura, simply follow these steps.
-
Open the Obscura app
-
Navigate to the Settings tab
-
Under the DNS Server section, enable Use Obscura DNS
-
Choose the categories you would like to have blocked
What Blocklists Do We Use?
Section titled “What Blocklists Do We Use?”We currently use the same blocklists as Mullvad for our DNS content blocking.
As of January 2025, the lists include EasyList, Hagezi, Adguard, OISD, URLhaus and Mullvad’s custom tracker blocklist.
You can find the specific lists used for each category on Mullvad’s DNS-blocklists repository.
Using Custom DNS via an Installed DNS Profile
Section titled “Using Custom DNS via an Installed DNS Profile”Most DNS providers (e.g. NextDNS) provide a DNS profile that you can download and enable on your Apple device. To use custom DNS in Obscura with an installed custom DNS profile, follow these steps.
-
Open the Obscura app
-
Navigate to the Settings tab
-
Under the DNS Server section, enable Use installed custom DNS profile
-
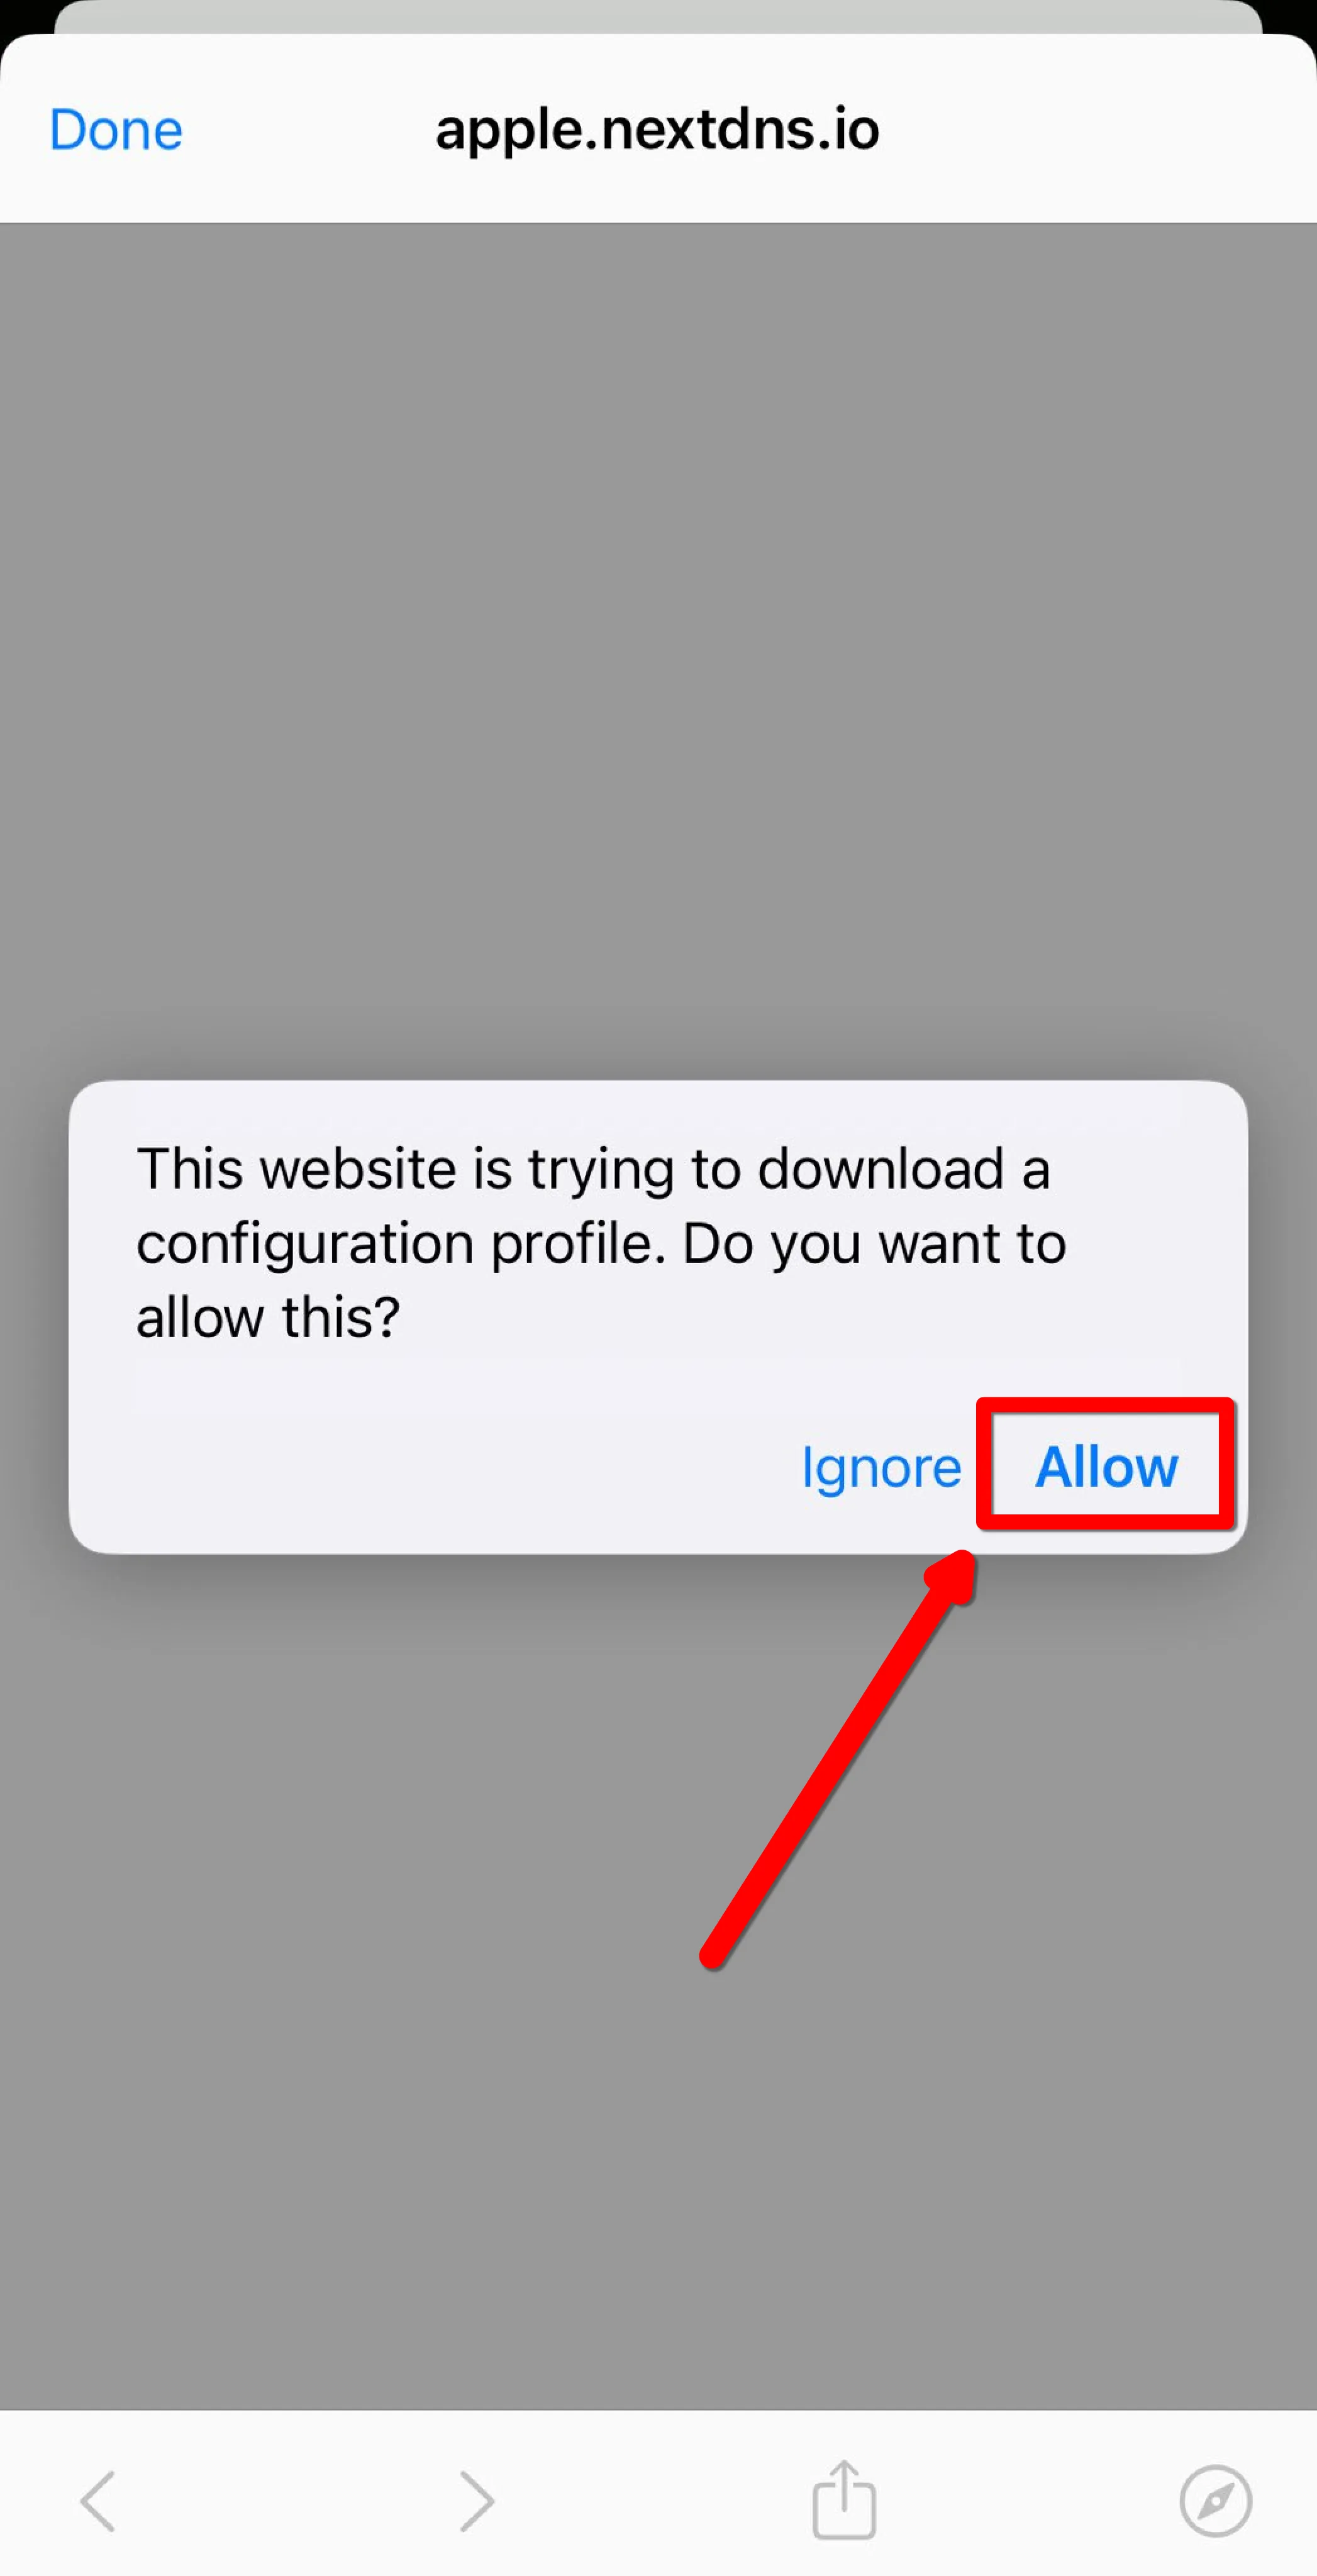
Download your custom DNS profile and tap Allow when prompted
-
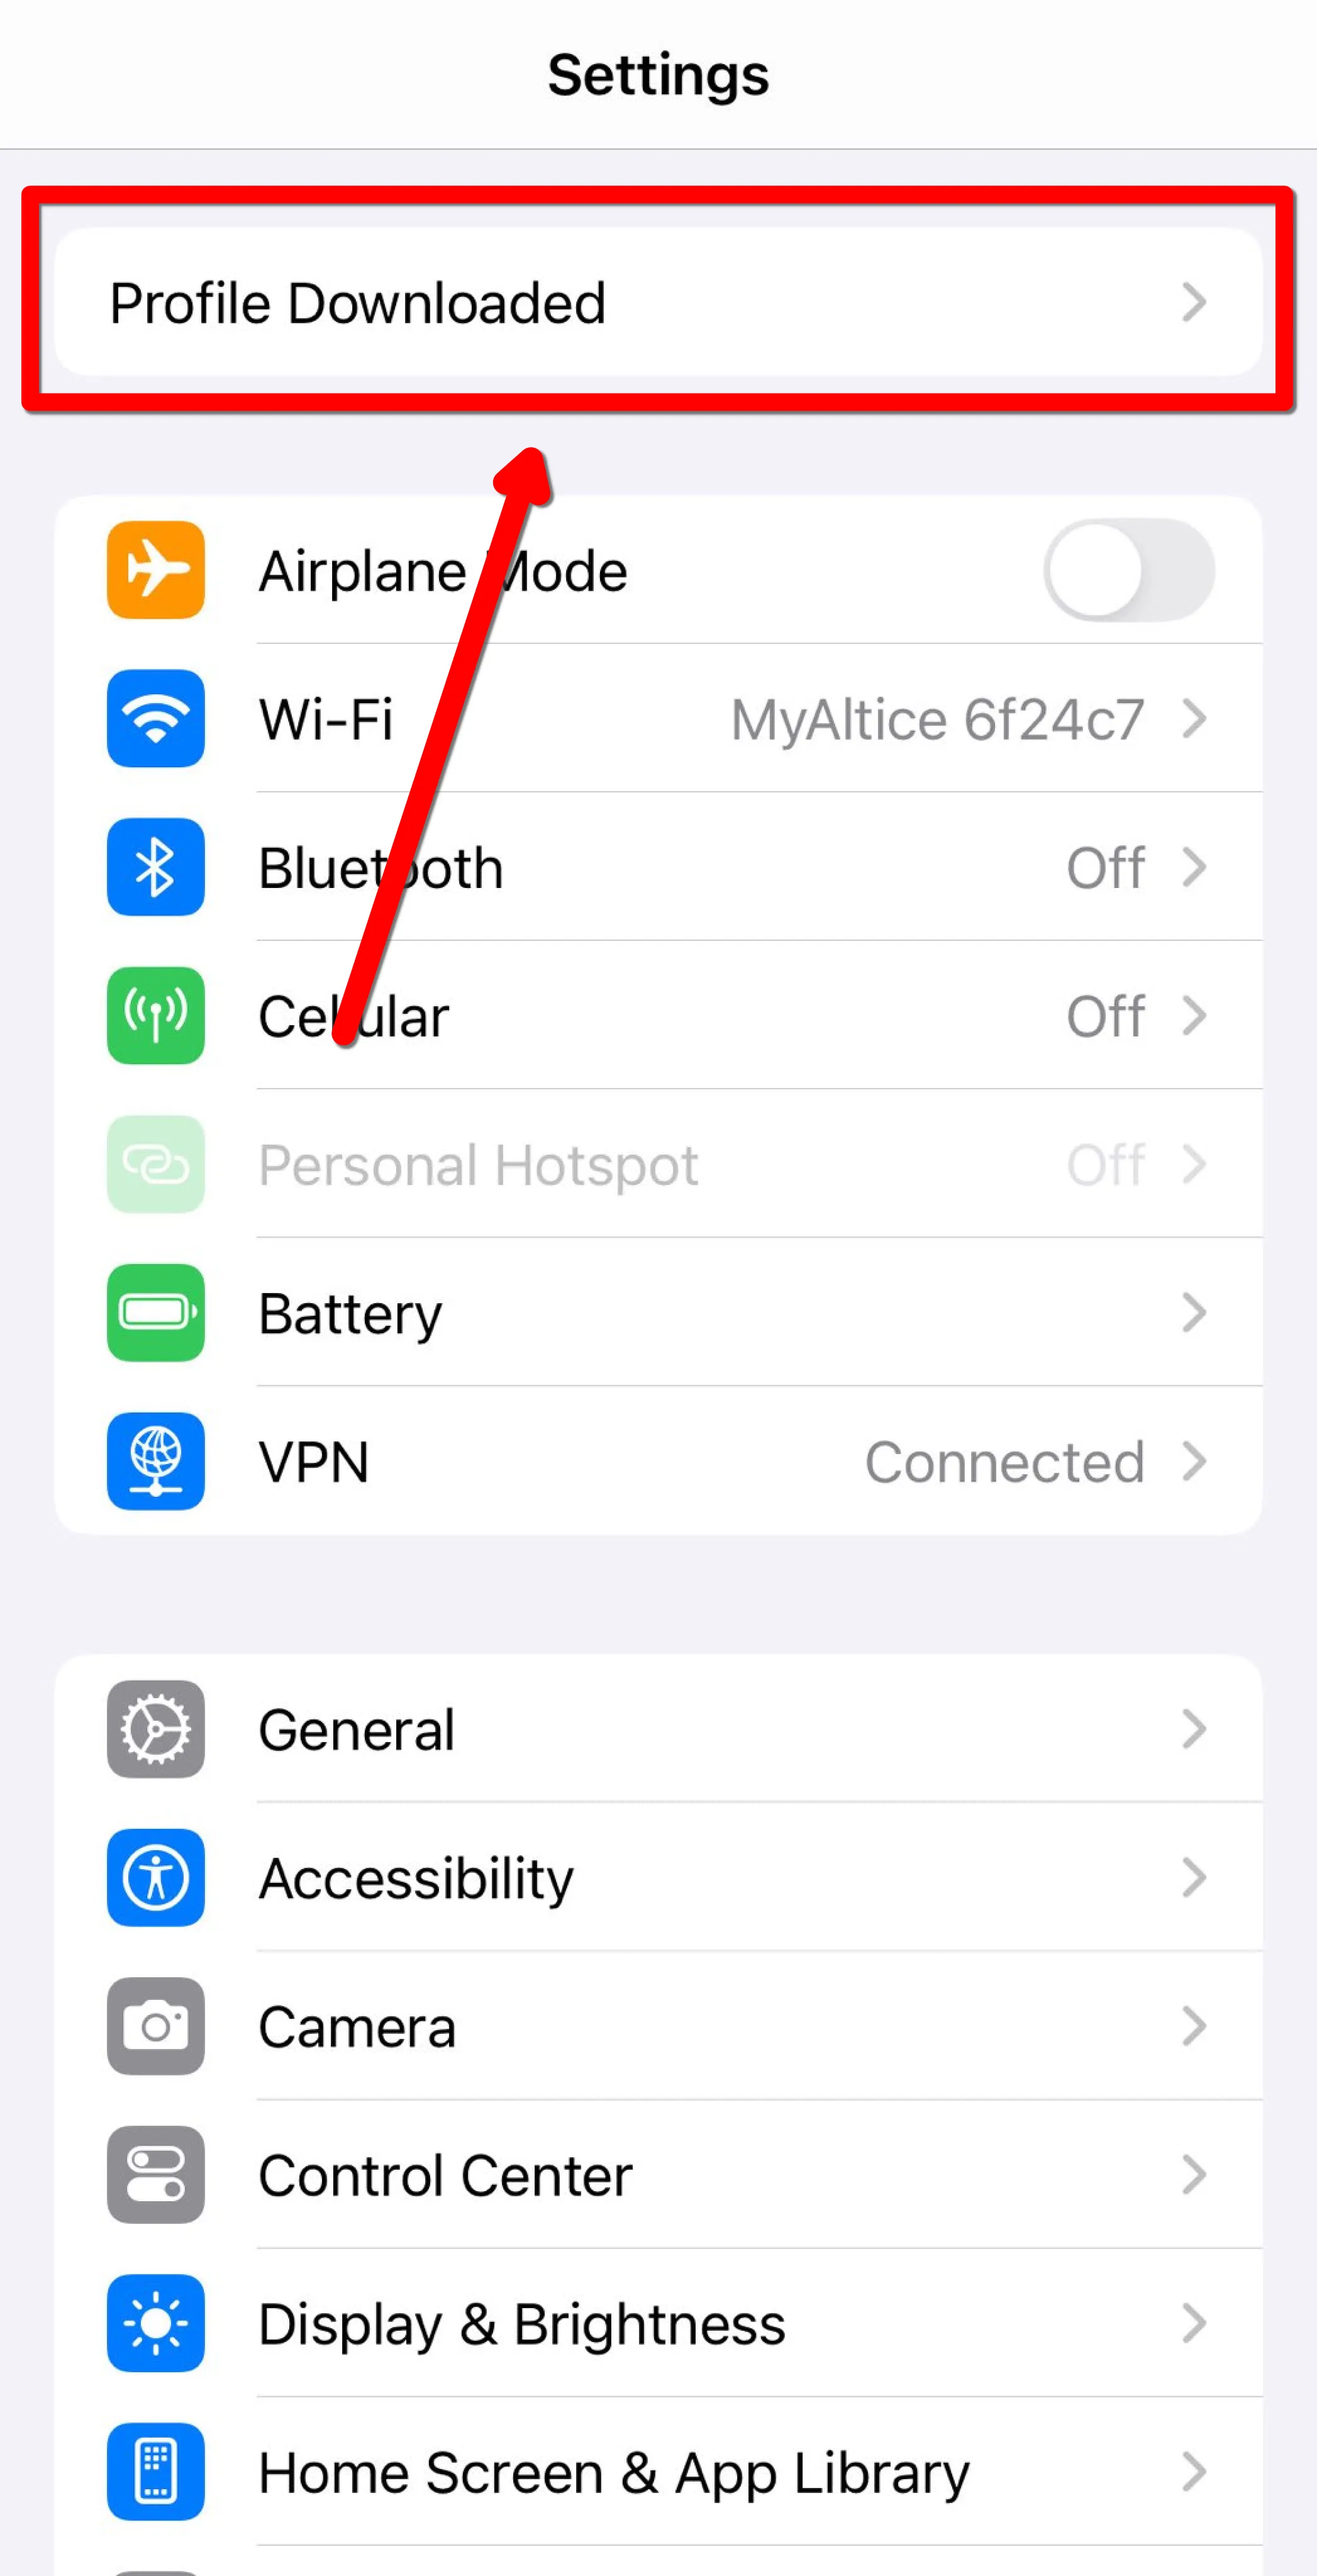
In the Settings app, tap the Profile Downloaded button on the top of the homepage
-
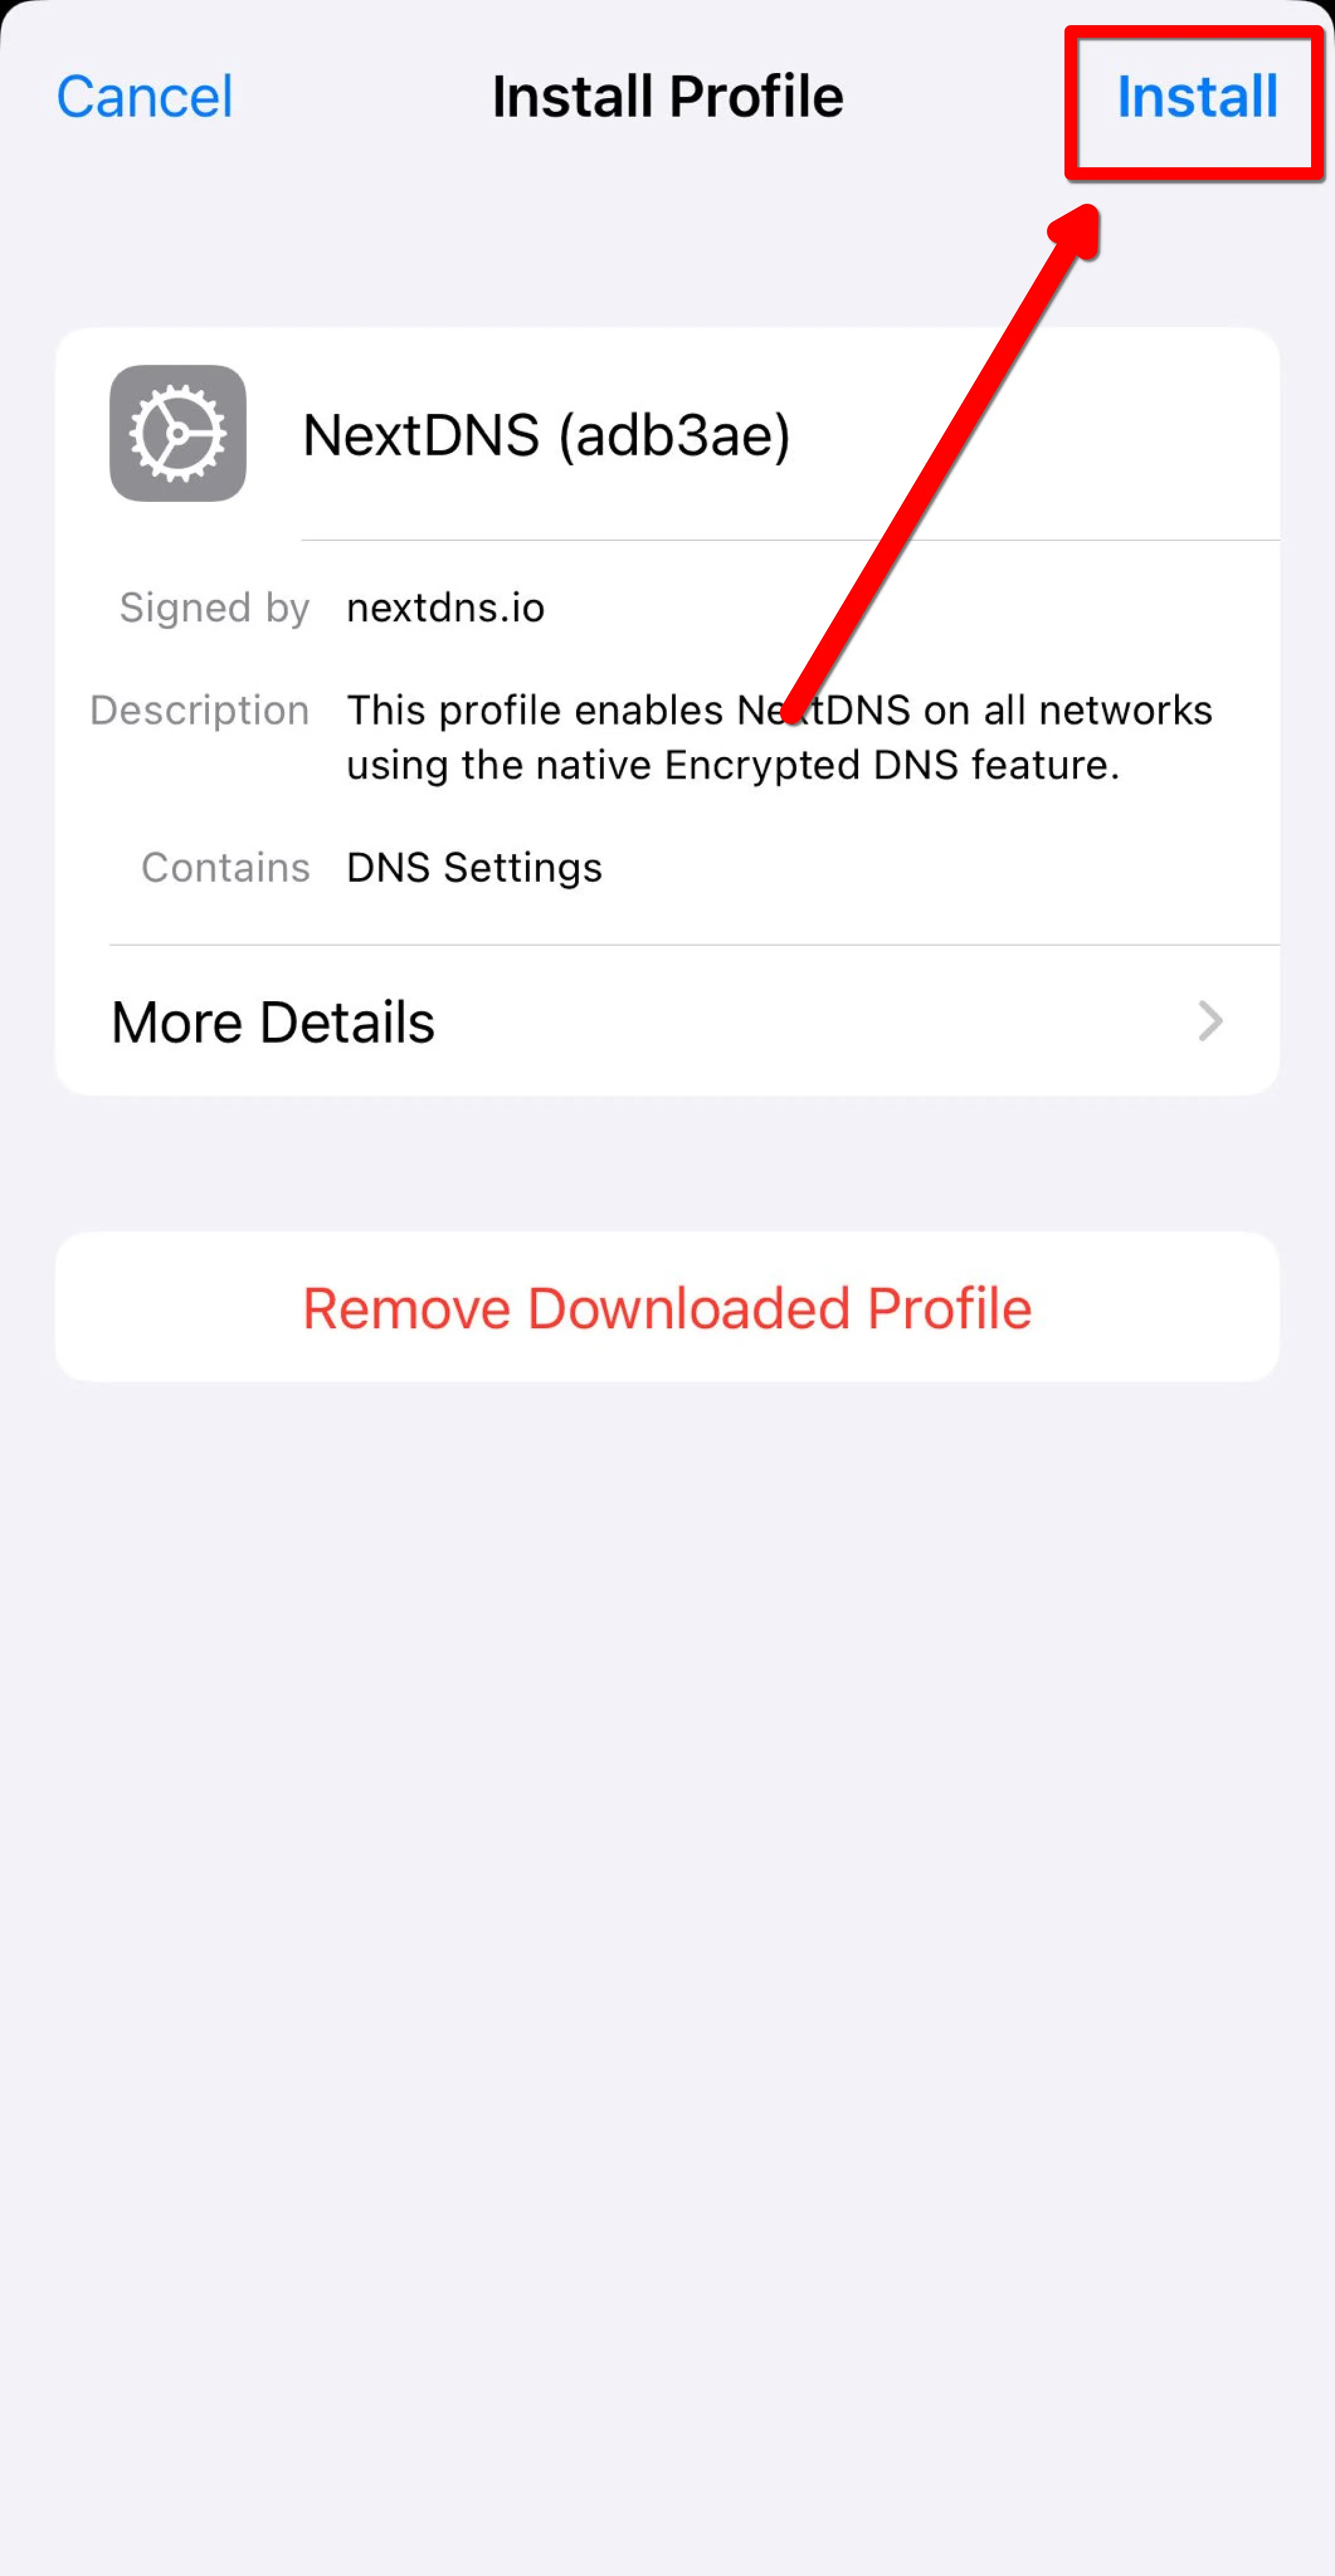
Tap Install in the top right
-
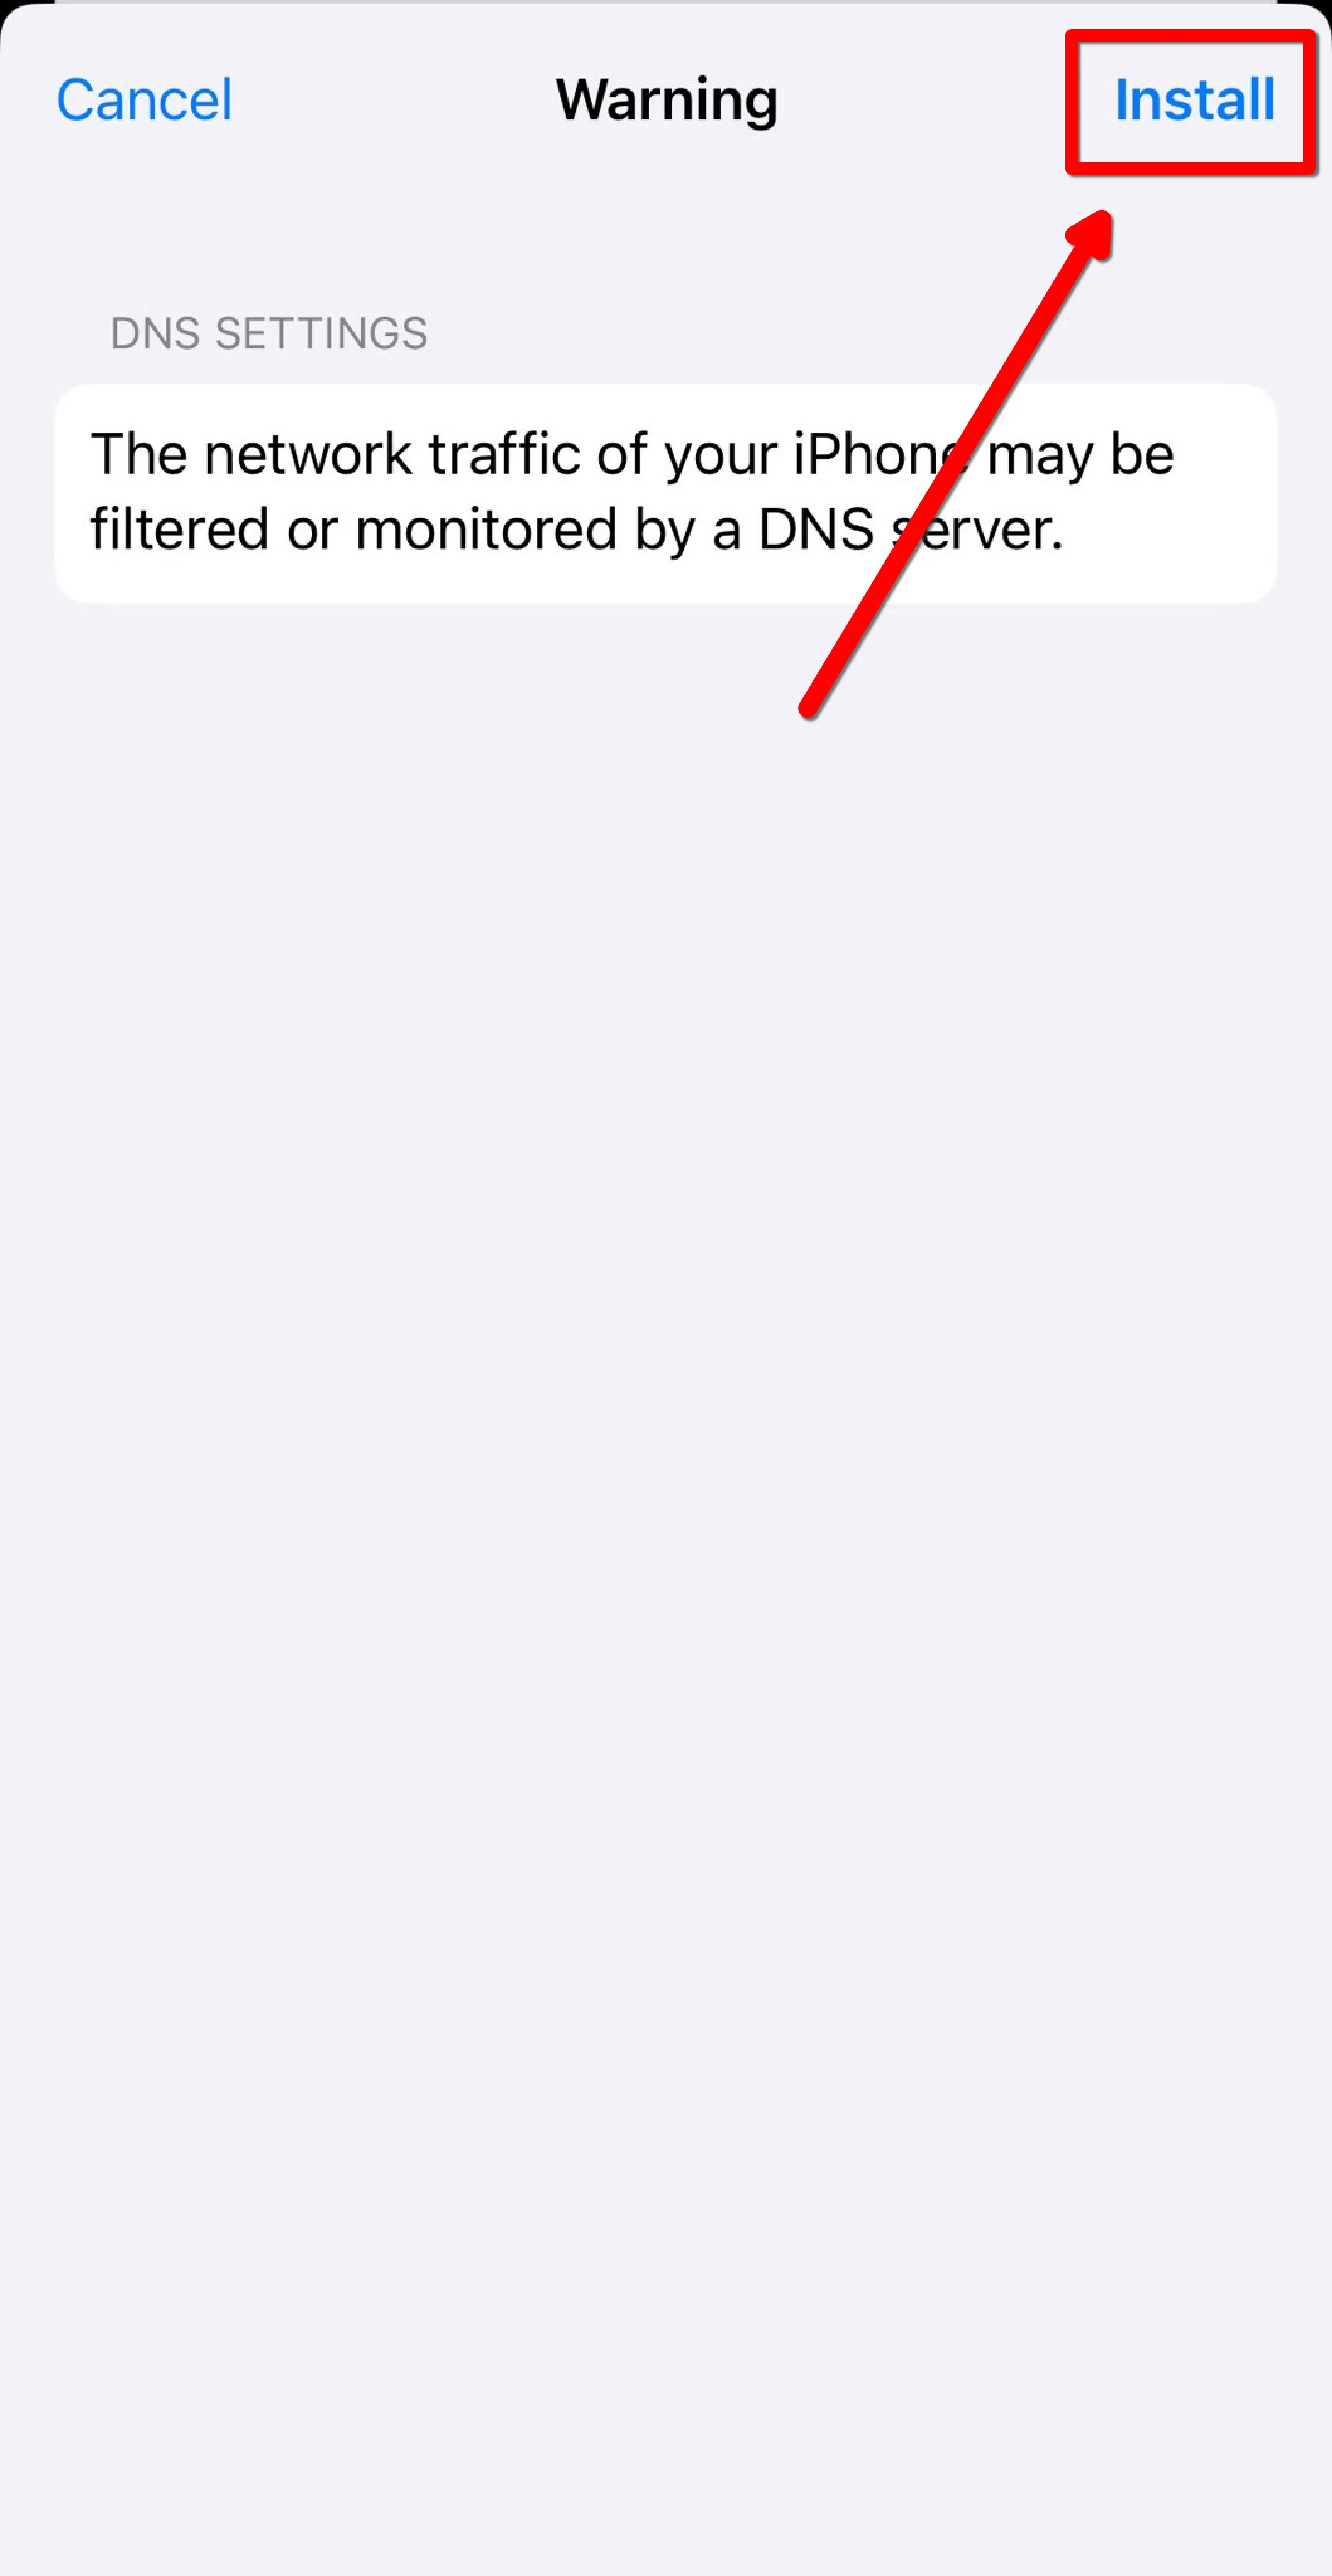
Tap Install again to enable the profile
-
Open the Obscura app
-
Navigate to the Settings tab
-
Under the DNS Server section, enable Use installed custom DNS profile
-
Download your custom DNS profile and open the file, you should see a Profile Downloaded pop-up
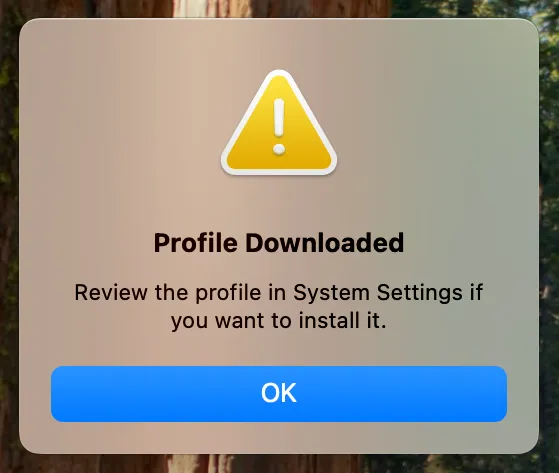
-
In the System Settings app, click Profile Downloaded near the top of the left sidebar, then double-click the profile you want to install
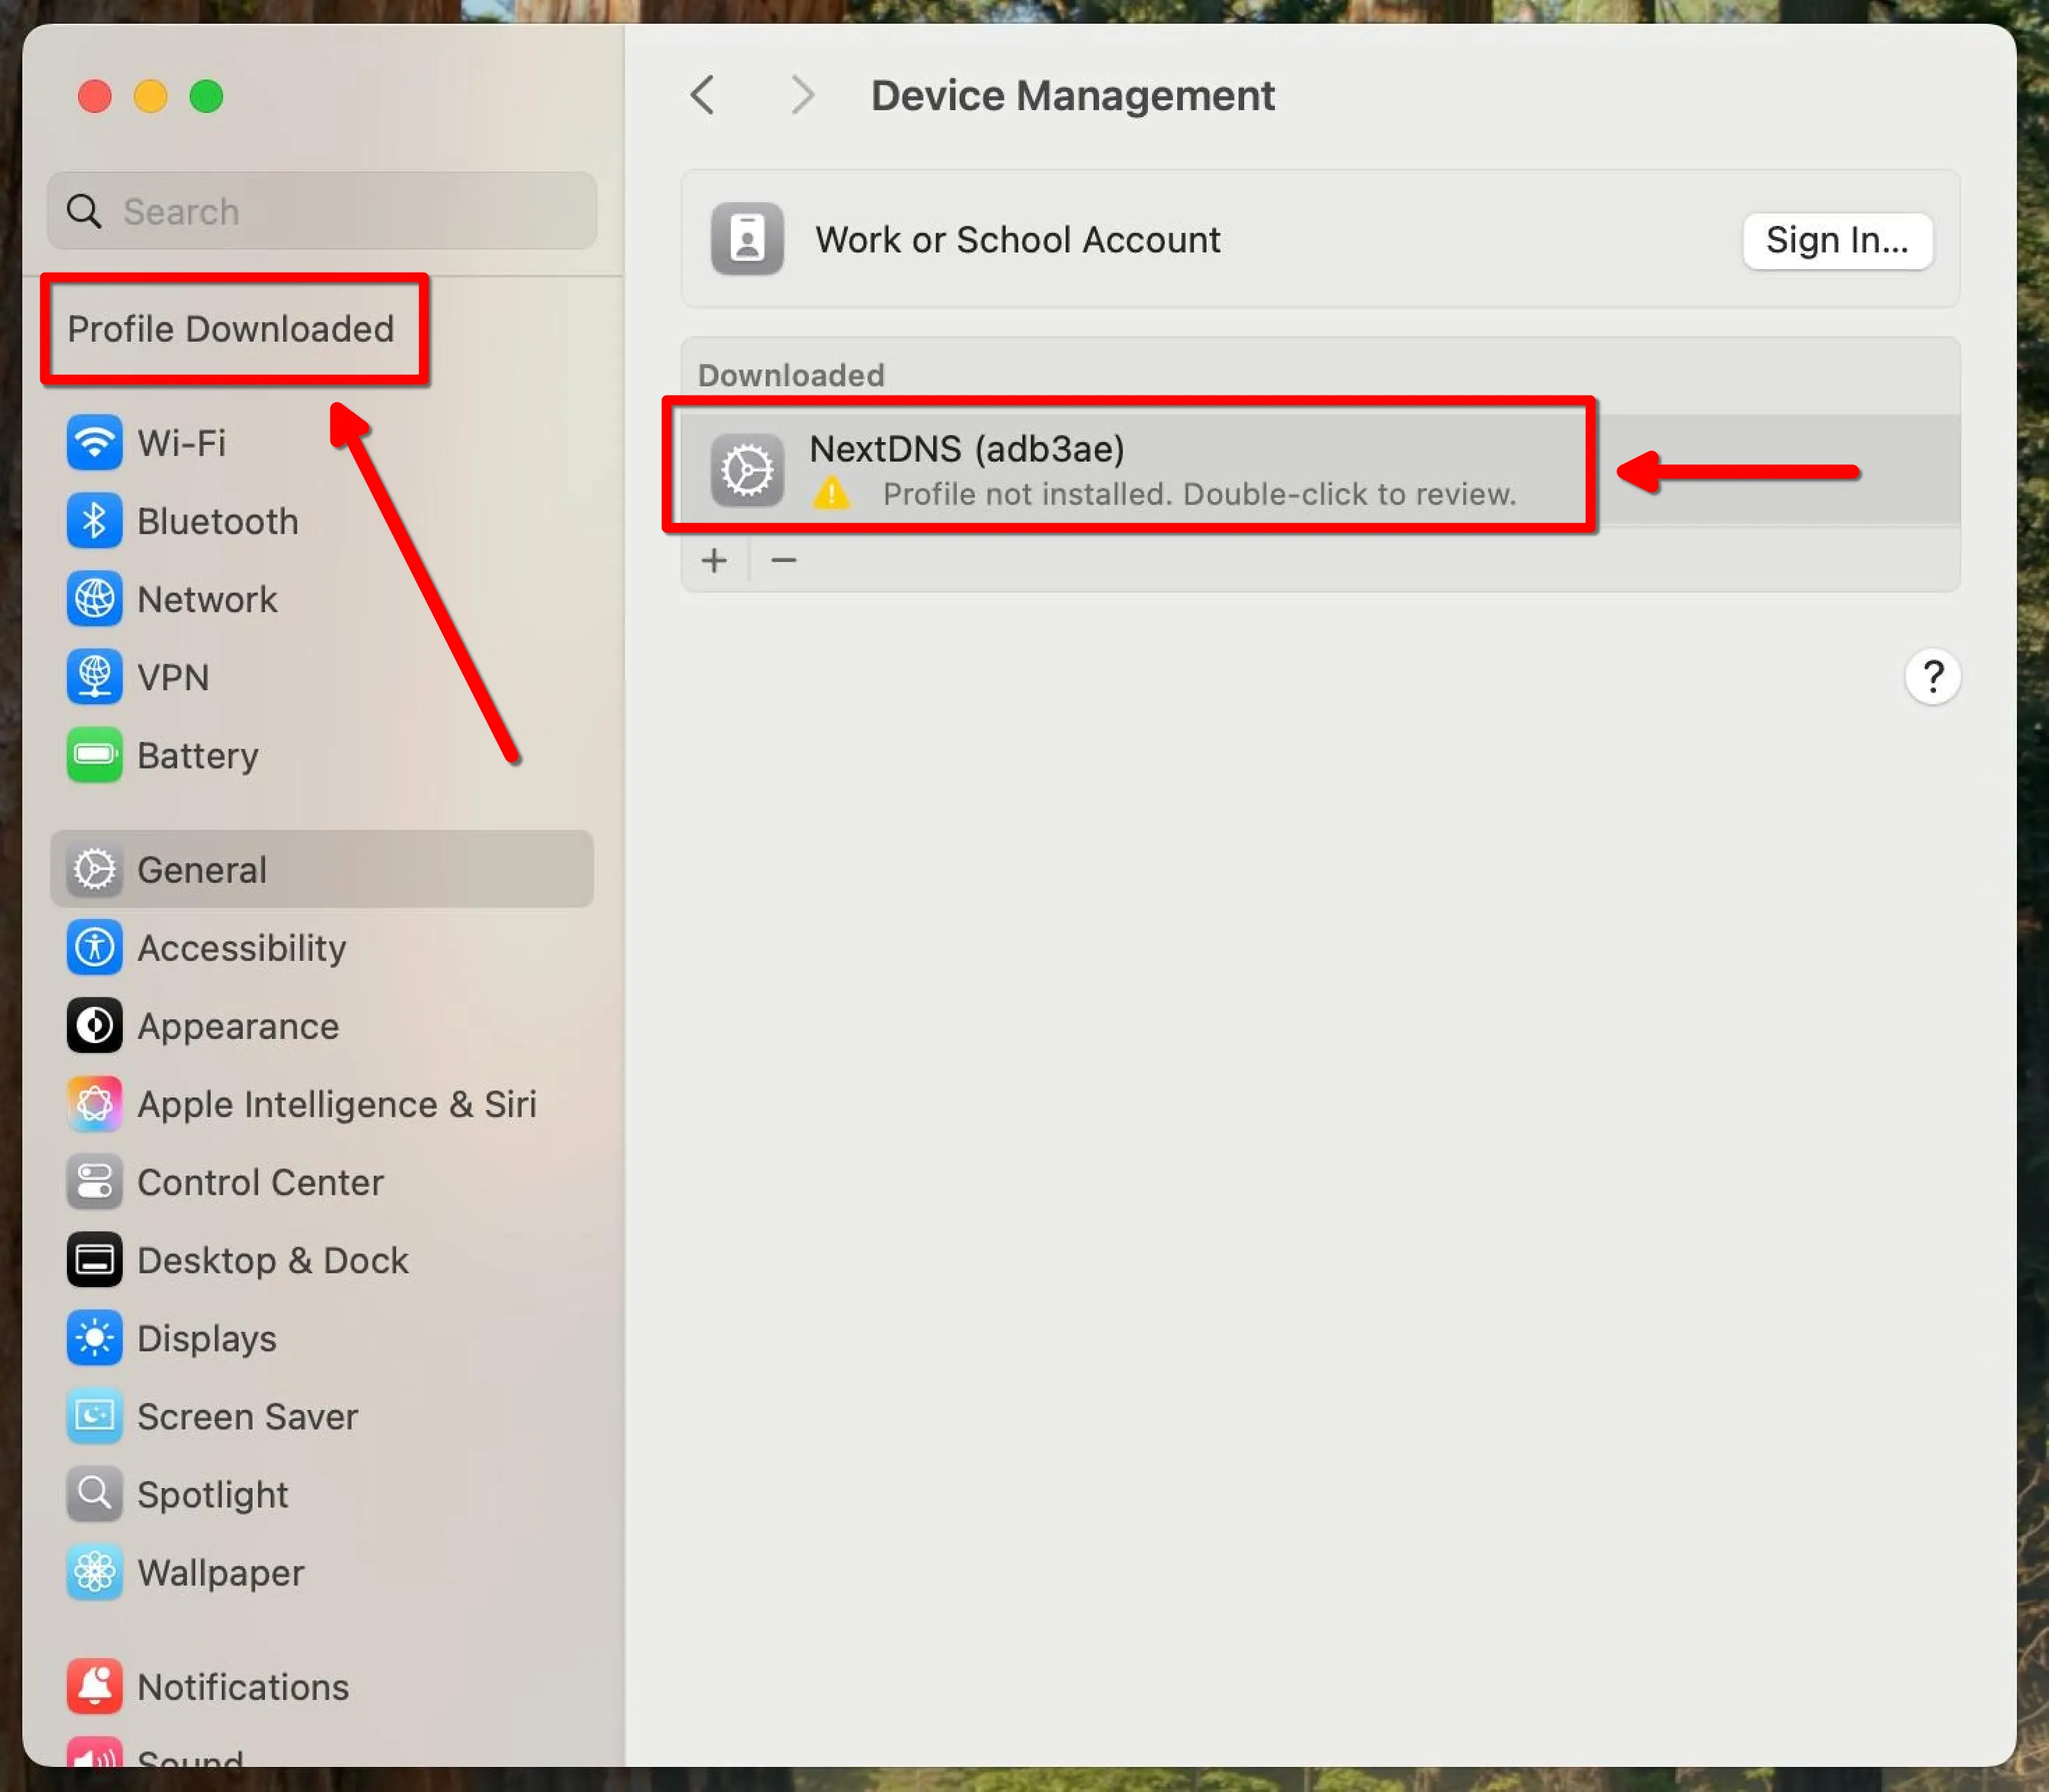
-
Click Install in the bottom left of the pop-up

-
Enter your device password to enable the profile